Posts

Showing posts from October 20, 2019

Maya: Sub Surface Scattering (Part 1)

Image
Final Render   Iterations Decreased   Height Increased   Displacement Added Normal Added Specular Added Sub Scatter Added Diffuse Added Original  Although I'm only halfway through this two part tutorial I already feel like I'm learning a lot about how to shade and apply texture onto faces to make them appear more realistic. I feel like this video will come more in handy fully if I try and do something more professional, but since I have been trying to finish the other lighting tutorials I'm already starting to get used to some of the words and techniques that are being used to refine up the image, especially around the hyper-shade and applying different textures onto the face and using an ambient occlusion node to make the image seem more realistic. I did have some trouble although applying the ambient occlusion node onto this figure because it wouldn't render properly with the texture over it.

Maya: Motion Blur Car

Image
Adobe After Effects Pixel Blur Maya Motion Blur Effects Scene 17: Motion Blur Edited  Scene 17: Maya Motion Blur Added  Scene 17: Original  Looking at the different ways to add motion blur onto the animation I found very interesting and useful, especially learning that I could add on the effect in Maya before if I chose to, rather than just editing it in post to give me more variety in how I wanted to portray action, I feel this video will defiantly come in handy in the future.

Maya: Caustics and The Chest

Image
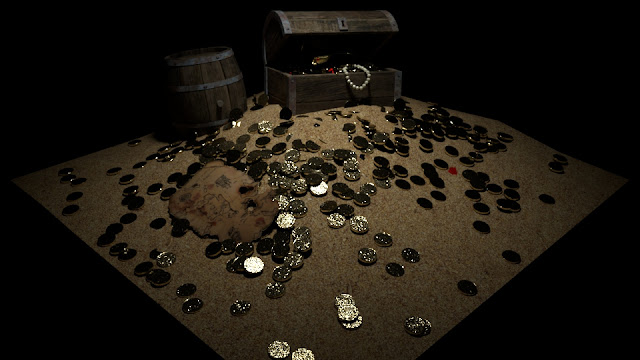
Original  Caustics Add in  Add Spotlight  Add Area Light  Area Light Colour Change  Add Atmosphere  Final Render  This by far was the hardest of the tasks to complete so far, as although I have learned a lot, this tutorial also had some issues loading, which I feel might of have effected the final render. Creating the Caustics I found very interesting and useful, especially now that I know I can create a water effect if I need to and how to apply it onto a scene without having to make it myself. The colour change and incorporation of lights was also interesting, however I don't like the way the final render has turned out and so might re-do it sometime in the future, because I had some issues with the scene and couldn't get the background items like the chest or the barrel to be as dominant in the frame as they are in the examples.

Maya: Stand In

Image
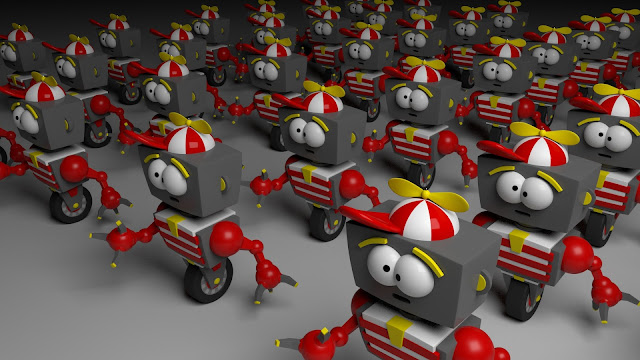
Large Duplicate   Single Duplicate   Screenshot  Learned more about different ways to duplicate in models using Arnold, this one defiantly a lot easier move around and sort than just duplicating in the different nodes from the outliner.

Maya: Fog and Atmosphere: House and Fog Edit

Image
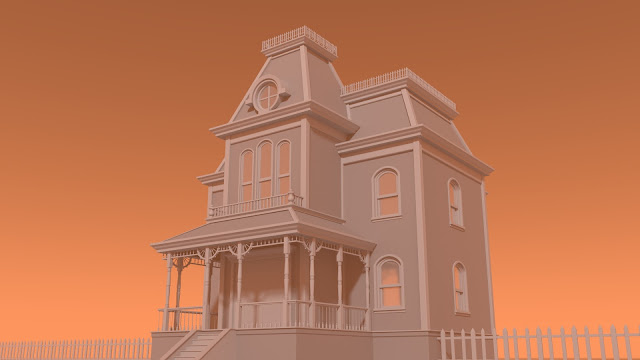
Final Render: Colour Change   Fog Decrease   Fog Increase   Original  For this scene, exploring how to add in and introduce fog was very interesting and fun despite how short the video was. I liked how changing the background of the scene can create a more off world effect while the fog helps introduce a more polluted one, which I will take into consideration if I want to create a more spooky or destroyed scene in the future.

Maya: Fog Atmosphere: Tree Atmosphere Edit

Image
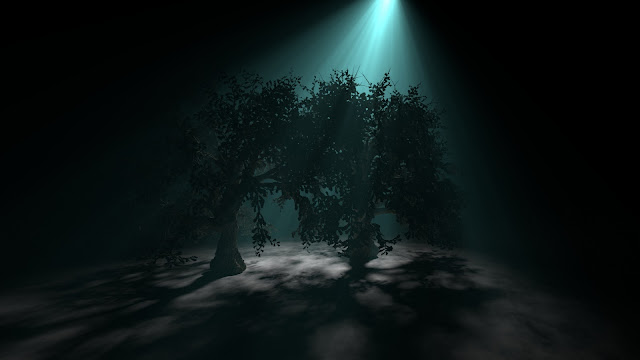
Final Render  Gobo Add In   Colour and Attenuation Colour Change    Anisotropy Increase  Density and Attenuation Increase  Density Increase   Original  Looking at the tree and the fog I found the process interesting, especially learning about how changing the density of the scene can create a more brightened effect. Again, because I'm interested in colour changing in scenes, I found adding on and changing the Fog colour and the Attenuation very interesting, so this along with the house I will defiantly take into consideration for future projects if I need it, but it was interesting learning how to create and alter the atmosphere and light in a scene.

Maya: Photometric Lights

Image
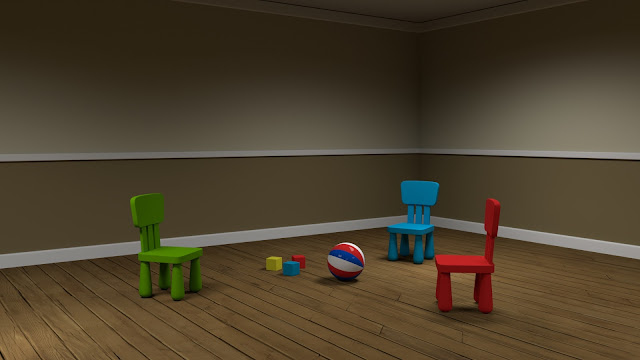
Final Render  Lights Original (Before Arnold and Exposure Edit)  Maya Light Layout ScreenShot:  This set so far has been the most difficult to render, especially for the last image which took a lot longer than I was expecting, probably due to the imported lights so from this tutorial I will defiantly take this into consideration if I want to import different lights into my Maya set, but apart from that I found this set easy and I learned a lot from completing it.

Maya: Depth of Field

Image
Original  Circle Ramp   Circle Ramp Edit  Focus Distance and Apature Change    Aperture Size Increase Again  Final Render  Found this tutorial very helpful when creating depth of field, I especially liked learning about the contrast between using a ramp and trying to create bokka by editing the aperture and focus distance on the camera, however If I was to use this I think I might do it on an single image that could be used on a background prompt because of the amount of time the last image took to render.

Character Design: Buildings and Astronaut Further Development

Image
 Astronaut Further Development  Building Desgins  For this lesson we looked at exterior and interior spaces and how to draw them to show power, time period and scale. For my building I looked at the Lloyds Building in the London and had the task to make it appear ancient, so I decided to draw inspiration from greek architecture, incorporating friezes and columns where the exterior piping and boxy shapes would be, as well as putting in some renaissance domes where the boxes around the top where, as I felt it suited the style better, although it didn't portray the style of the ruling as well.  I also continued on with the designs of my astronaut, and at this point I'm feeling pretty confident about style and what the story of the two astronauts will be in preparation for storyboarding next week, I'm also at this point sure I'm settled on a robot and rocket design for the astronauts so now just need to finalise an outfit for the Cosmonaut and Astro

Maya: Ambient Occlusion Car

Image
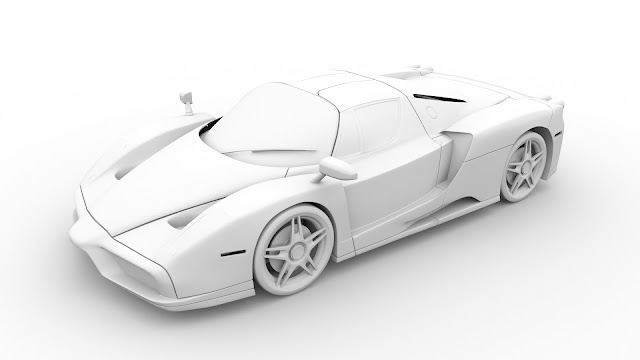
Original Render   Sample and Spread Increase   Render Without Windows  Final Photoshop Combine and Edit  This Ambient occlusion tutorial I found very useful, especially when it came to editing the original coloured render and the ambient one to create a more realistic looking image. I didn't find any of this video difficult and found the lesson useful for future projects.